Good morning everyone!
I finally can begin my posts about the spa party I hosted a couple of weeks ago. For any party, you have to have invitations. Well technically, you don’t HAVE to have invitations, but I find it necessary for my parties 😀
You can probably guess (or maybe you already know) that I love to hand-make things if possible. Birthday cards, wedding/baby cards, and other various cards and invitations are always better when you know they weren’t purchased from a store. Hand-made cards are a good way to show people that you really care about them, but also that you care about the “product” you have given/sent to them.
When thinking about the design of the invitations, I googled images to find some inspiration. I found this one that I thought was really cute (see picture below). However, I thought it might not look “adult” enough, so I scratched the idea. [Maybe one day, if I have a daughter or two, we can have a spa party for her and her friends. Then I can use this type of invitation :-)]
So I went back to the drawing board. I decided not to go with a specific “spa” look. Instead, I chose my color scheme and went from there. Naturally, I wanted to use blue and white. But I thought having only two colors was blah and boring. So I added in green and gray. I’ve been seeing a lot of invitations lately that incorporate scalloped edges in the design. I looked around Hobby Lobby and found this template and bought it. I really like that it has plenty of sizes to choose from.
Before I bought anything else to make the invitations with, I had to buy some envelopes (that way, I would know how big to make my invitations). In Hobby Lobby, they have a small section of colored envelopes. I bought one package of green and one package of blue that are a tad bigger than 5″x7″.
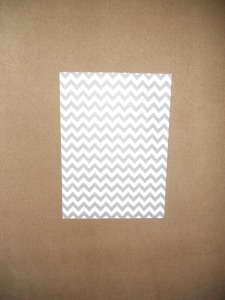
When it comes to cards and invitations, I love layering different prints and patterns. I started with a gray and white chevron print for my background. I cut it down just enough to fit inside the envelope. Again, it measured just over 5″x7″.
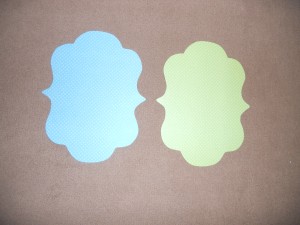
To go along with the blue/green theme, I bought some polka dot paper in both shades. I decided to do half my invitations with the green polka dot and the other half with the blue. I used the scalloped stencil, determined which size would be the best fit, traced it, and cut it out.
Next came the wording. I printed on both blue and green paper and glued it to the opposite color of polka dot paper (hope that makes sense). After much searching through google for the best wording, I decided on this:
I know it doesn’t look like it in the picture, the paper is green! And since the picture is a little hard to see, this is what it says:
It’s a Spa-aaah Party!
Come relax with friends and de-stress from the end-of-school madness
Appointment Date & Time:
Saturday, June 8, 2013
from 2 – 5 pm
Location:
street address
city, state
RSVP to confirm your appointment:
phone number or
email address
*Wear comfy clothes and shoes
*Light refreshments will be served
I found the best size of the scalloped stencil, traced it, and cut it out.
Once I had everything cut out, I glued everything together and this is what the finished product looks like:
I got lots of compliments on these 🙂 This doesn’t really look like a “spa” invitation per se, except for the color scheme. But I don’t think that’s a big deal. It’s cute, it’s hand-made…who wouldn’t love it?! Plus, it’s easily adaptable – you could use the same layout for any card or invitation!
Have a great rest of your day! And happy crafting!!
~ Traci


